
How to repair Vinyl Flooring? A complete guide
- branddonlim
- Nov 25, 2025
- 5 min read
Updated: Feb 2
Vinyl flooring is known for its durability and ease of maintenance, making vinyl flooring Singapore a popular choice for modern homes and commercial spaces, but even the toughest floors can develop tears, rips, scratches, or gaps over time. The good news is that most damage can be repaired without replacing the entire floor. The method you use depends mainly on the type of damage and the style of your vinyl (sheet, tile, or luxury vinyl plank/LVP).
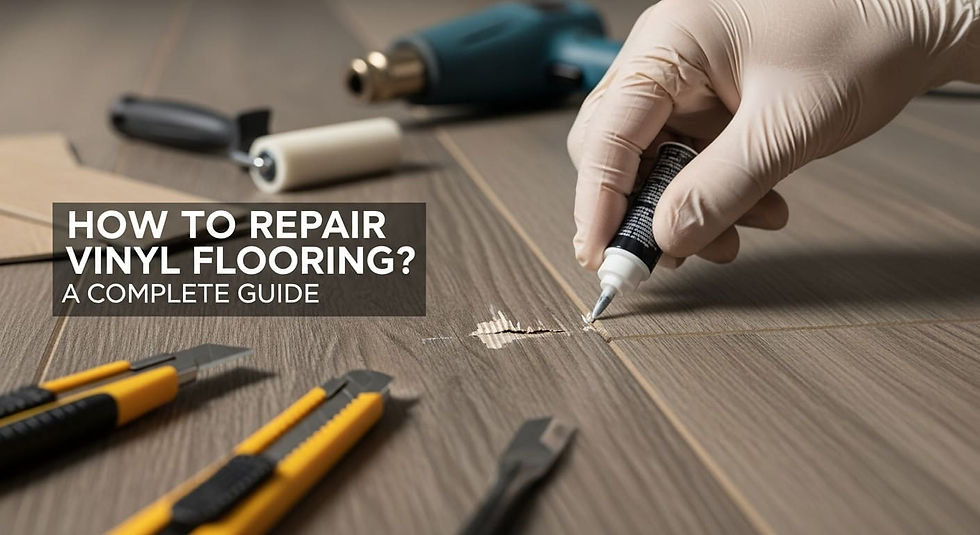
Repairing Small Tears, Rips, and Scratches
For minor surface damage, a simple adhesive fix and a seam sealer are usually all you need.
Materials Needed:
Mild detergent and a clean cloth
Vinyl flooring adhesive or double-sided flooring tape
Seam roller or rolling pin
Vinyl seam sealer (matching your floor's finish: matte or glossy)
Utility knife or sharp scissors
Step-by-Step Fix:
Clean the Area: Thoroughly wipe down the damaged section with warm water and a mild detergent. Ensure it is scorched before moving on.
Apply Adhesive: For a small tear or loose edge, lift the vinyl slightly and apply a small amount of vinyl adhesive underneath, using a putty knife to spread it thinly and evenly. For a minor rip, use a strong double-sided flooring tape under the tear.
Press and Secure: Press the torn piece or loose edge firmly back into place. Use a seam roller or rolling pin to flatten the area and ensure a strong bond. Immediately wipe away any excess adhesive that squeezes out.
Seal the Repair: Once the adhesive is dry (check the manufacturer's instructions, often around 24 hours), apply a thin layer of vinyl seam sealer directly over the repaired tear. This seals the edge against moisture and further damage. Let it dry completely.
Learn how to get rid of scratches by clicking the link.

Patching Larger Damaged Areas
When a section of your sheet vinyl or a full plank/tile is severely damaged, patching or replacing the piece is the best solution.
The Vinyl Patch Method (For Sheet Vinyl)
If you have leftover vinyl from the original installation, use that for the best colour and pattern match. If not, you may need to source a matching piece or discreetly cut a patch from an area hidden by furniture or inside a closet.
Cut the Patch:
Place the new vinyl piece over the damaged area and align the pattern perfectly. Secure it with painter's tape to prevent slipping.
Cut Through Both Layers:
Use a sharp utility knife and a straightedge to cut out a clean, square or rectangular patch, cutting through both the new vinyl and the damaged old vinyl beneath it.
Remove Old Vinyl:
Carefully lift and remove the damaged section, ensuring the subfloor is clean and free of old adhesive.
Install the New Patch:
Spread vinyl flooring adhesive evenly onto the exposed subfloor. Place the new patch into the opening and align it precisely.
Secure and Seal:
Press the patch firmly into place with a seam roller. Once the adhesive is dry, apply a bead of vinyl seam sealer around the entire perimeter of the patch to waterproof the seams and blend the repair.

Replacing a Vinyl Plank or Tile (LVP/LVT)
For interlocking or glue-down planks/tiles, replacing the whole unit is usually easier and results in a more professional finish.
Remove the Damaged Piece:
Click-and-Lock: If the floor is floating (not glued), you may need to disassemble the floor back to the damaged plank, replace it, and then reassemble the section. Tip: Some professionals will cut out the centre of the plank, then remove the edges to avoid disrupting the surrounding planks' locking mechanisms, glueing the replacement piece into place.
Glue-Down: Cut the damaged piece out with a utility knife, heat it gently with a hairdryer or heat gun to soften the adhesive, and then scrape it up. Clean the subfloor thoroughly.
Install the New Piece:
Apply the appropriate flooring adhesive to the subfloor (for glue-down) or carefully lock the new plank/tile into the surrounding pieces (for floating floors).
Set and Secure:
Place the new piece and press down firmly. If using glue, place a heavy object on top of the latest piece while the adhesive cures.
General Repair Tips and Prevention
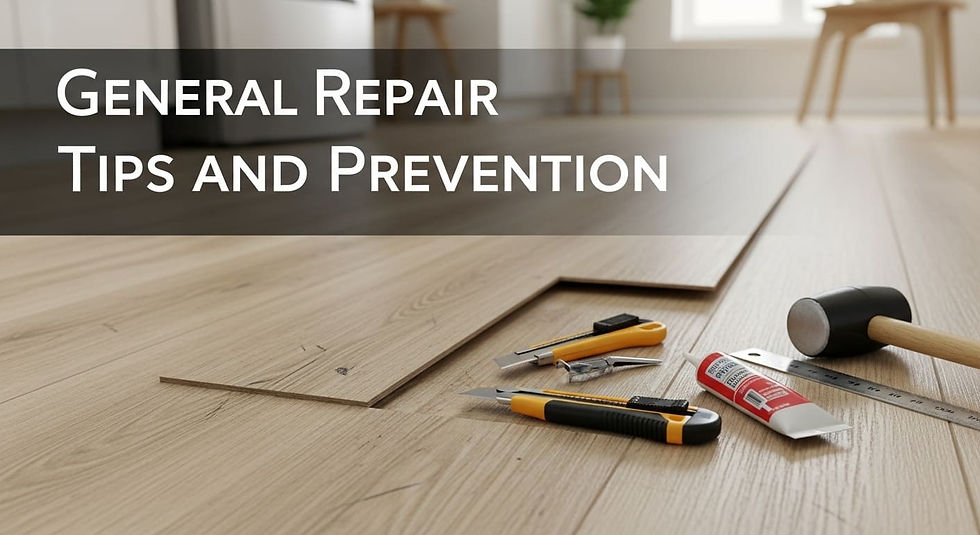
Avoid Super Glue:
Do not use standard super glue, as it can cause discolouration and often fails to provide a lasting, durable bond for vinyl. Always use a recommended vinyl flooring adhesive.
The Power of Heat:
A hairdryer or heat gun on a low setting can make stiff vinyl more pliable, which helps flatten a loose edge or remove an old, glued-down tile. Be careful not to hold the heat in one spot for too long, as this can scorch or melt the vinyl.
Prevent Future Damage:
Placing felt pads under furniture legs and lifting heavy items instead of dragging them are excellent ways to prevent scratches and tears. Maintaining a stable indoor temperature can also help prevent the vinyl from becoming brittle. You can learn about how to fix dents in vinyl floor by clicking the link.
Conclusion
Repairing vinyl flooring is a practical and cost-effective way to extend its lifespan and maintain your home's aesthetic. Whether you are dealing with a small scratch that requires a bit of seam sealer or a large tear that necessitates a full patch, careful attention to preparation, alignment, and the proper use of adhesive and sealer will yield a durable, nearly invisible repair. By implementing these DIY techniques, you can keep your vinyl floors looking their best for years to come. You can order professional vinyl floor repair services.
FAQ’s
What types of damage can be repaired?
Most common damage can be repaired, including minor surface scratches, tears, rips, bubbles, and loose seams/edges. Larger, localised damage (such as a deep gouge or burn) usually requires patching or replacing the affected luxury vinyl plank (LVP) or tile (LVT).
How do I find a matching patch piece?
The best source is leftover material from the original installation. If you don't have any, you may need to purchase a new box of the same style, or discreetly cut a piece from a hidden area, such as inside a closet or under a large appliance.
Can I use super glue to fix a tear?
No. Avoid using standard super glue (cyanoacrylate), as it can turn brittle, fail to bond to vinyl properly, and may cause discolouration or cloudiness in the repair area. Always use a specialised vinyl flooring adhesive or seam sealer.
How do I fix a bubble or hump in sheet vinyl?
For small bubbles: Puncture the centre of the bubble with a pin or small syringe to release the trapped air. Inject vinyl adhesive into the hole, then press down firmly with a seam roller.
For large bubbles/humps: You may need to cut a small slit in the bubble, inject adhesive, and use a heavy object to hold it flat while the glue cures.
What is a vinyl seam sealer used for?
Seam sealer is a liquid chemical that is applied to the edges of a repair (a tear or a patch). It chemically fuses the vinyl layers, waterproofing the seam and preventing dirt and moisture from getting underneath.
How long does the adhesive take to dry?
Drying times vary by product, but most vinyl flooring adhesives require 24 to 72 hours to cure fully. Check the manufacturer's label and avoid walking on the repaired area until it is cured.
Do I need special tools to replace a plank?
Yes. You will need a utility knife with a sharp blade, a straightedge (ruler), and the appropriate adhesive or a method to engage the click-and-lock mechanism (if applicable). A heat gun or hairdryer can also help soften old adhesive for easier removal.
How do I prevent future scratches and tears?
Place felt protectors under all furniture legs (especially chairs and tables). Avoid dragging heavy furniture across the floor. Use rugs or mats in high-traffic or spill-prone areas, such as entryways and kitchens.


Comments